9 Crochet Halloween Ghost
Meet nine sleepy little ghosts, each worked in soft cotton yarn with beginner-friendly stitches and simple embroidered faces.

Pattern details & materials
- Skill level
- Beginner friendly
- Time needed
- Varies by project
- Hook size
- 2.5 mm (US B/1)
- Yarn
- Fine-weight 100% cotton
You will need
- Fine-weight 100% cotton yarn in your main colour, plus small amounts for the details
- 2.5 mm (US B/1) crochet hook
- Polyester fibre stuffing
- 6 mm safety eyes or black embroidery thread
- Tapestry needle and sharp scissors
- Keyring with a small chain or lobster clasp
- Stitch marker
Good to know
Finished size: About 6 to 8 cm (2.5 to 3 in) tall, without the keyring.
Gauge: not important. Choose a hook that makes firm, tight stitches.
Level: perfect for confident beginners who know the magic ring, chain and single crochet.
Stitches & abbreviations
All patterns use standard US crochet terms.
- MR
- Magic ring
- ch
- Chain
- sl st
- Slip stitch
- sc
- Single crochet
- inc
- Increase: 2 sc in the same stitch
- dec
- Decrease: 2 sc worked together
- st(s)
- Stitch(es)
- BLO
- Back loop only
Step by step
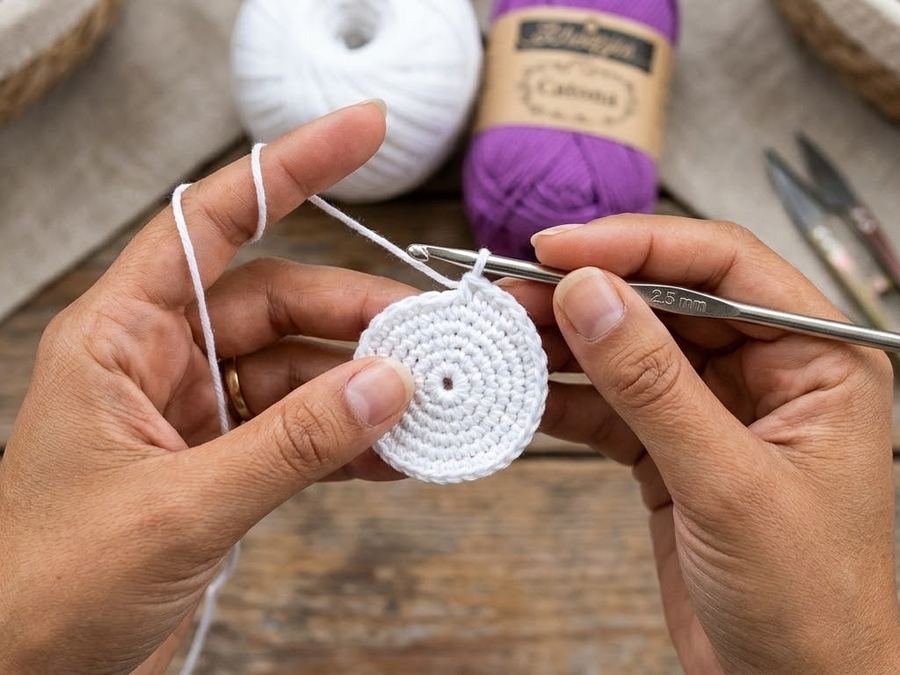
Choose your favourites
Scroll through the collection and pick the makes you love most. Each one works up quickly in soft cotton yarn.

Gather your yarn
Collect small amounts of fine cotton in the colours you need. Scraps are perfect for these little projects.

Follow each pattern
Open the pattern you chose and follow the round counts step by step. Mark the start of every round.
Finishing & care
Attach the keyring last, sewing the loop firmly into the top of the piece. To clean, spot-wash with cool water and a little mild soap, then air dry away from direct heat.
Take your time with the final assembly. Pin the pieces in place before you sew, check that everything looks balanced, and only then stitch them down.
Tips and notes
Relax your tension
Keep your stitches moderately loose so the fabric stays soft and easy to shape.
Use a smaller hook
A hook one size smaller than your yarn label suggests keeps stitches tight so the stuffing never shows.
Mark every round
A small stitch marker at the start of each round keeps your count accurate.
Stuff as you go
Add small pieces of stuffing before the opening gets too narrow, and shape the piece with your fingers.
Hide your ends
Weave in every tail securely with a tapestry needle so nothing unravels with use.
Make it yours
Swap colours freely. Soft pastels, bold brights or festive reds all look lovely with the same shaping.
Frequently asked questions
Can I sell what I make from this pattern?
Yes, you may sell the finished items you make in small quantities. Please credit Crochet With Mary and link back to this page. Please do not copy, share or resell the pattern itself.
Which yarn should I use?
Fine-weight 100% cotton gives the cleanest shape and stitch definition. Any similar weight works, as long as your stitches are firm enough to hold the stuffing.
Can I make it bigger?
Yes. Use a thicker yarn with a larger hook and follow the same shaping. The finished size grows with the yarn weight.
Is it safe for children?
These are decorative pieces with small parts, so they are not suitable for children under 3 years. Embroider the eyes instead of using safety eyes if the piece is for little ones.
How do I get the PDF?
Press the Download PDF button at the top or bottom of this page. It is free and opens in a new tab.
Take the pattern with you
Download the printable PDF and crochet anywhere.
More from Crochet Keychains
View all →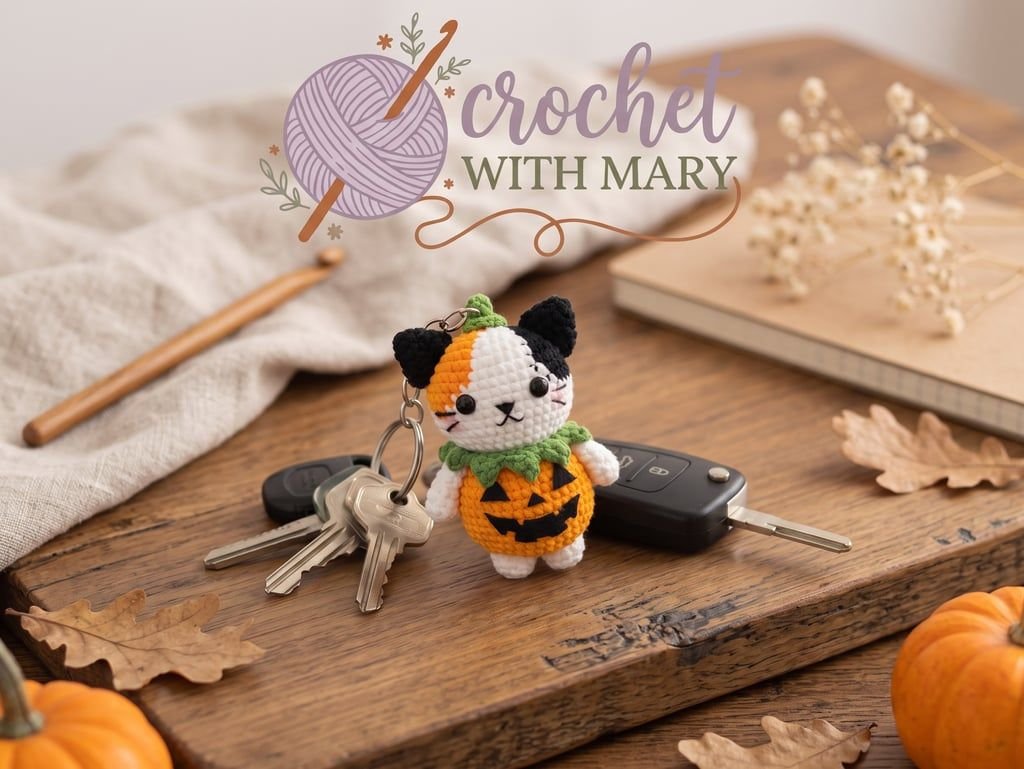
Crochet Calico Pumpkin Amigurumi
Crochet a plump calico-patched pumpkin in continuous rounds with soft cotton yarn, then shape the little stem and curled vine for a cozy autumn finish.
View pattern →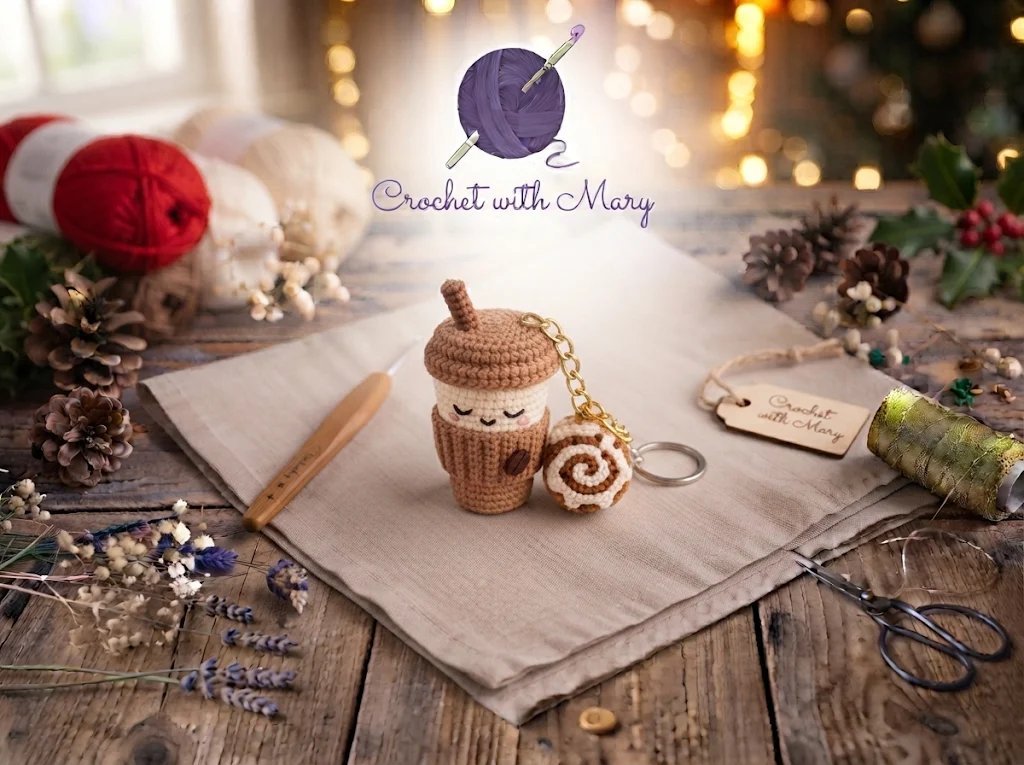
Kawaii Coffee & Cinnamon Roll Keychain
Crochet a sleepy kawaii coffee cup with a matching swirly cinnamon roll charm on a golden keychain chain.
View pattern →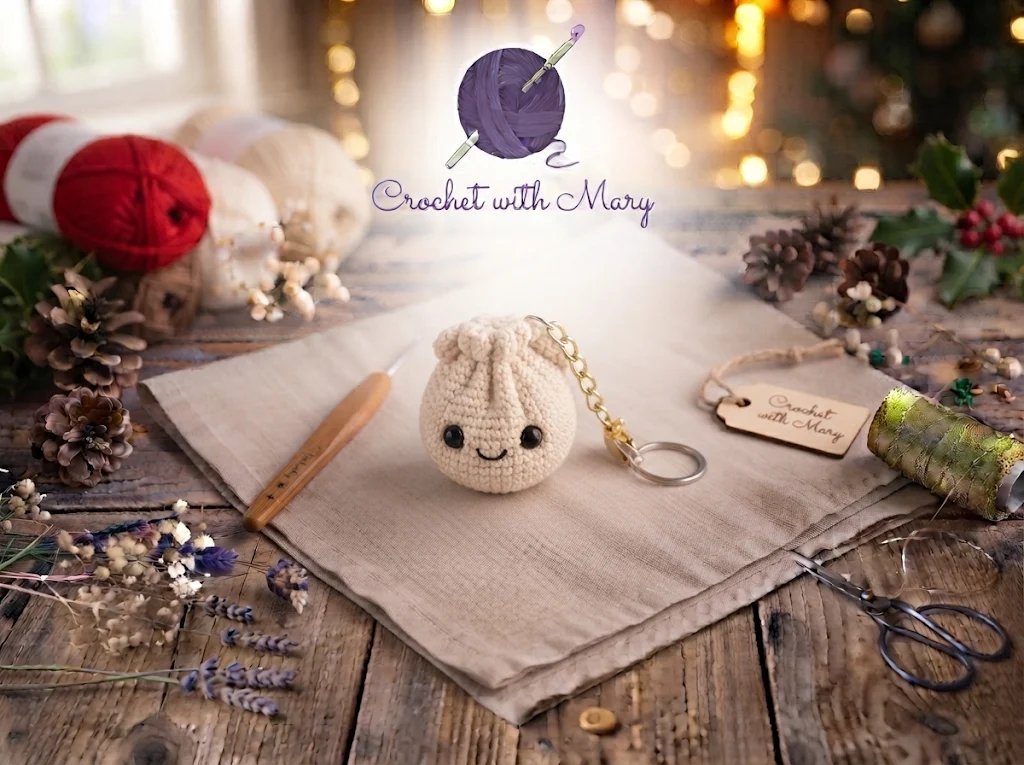
No-Sew Crochet Dumpling Keychain Pattern
Crochet a smiling little dumpling keychain with a gathered top, worked with no sewing for a fast, tidy finish.
View pattern →
Cute Crochet Panda Keychain Amigurumi
Crochet a tiny panda with black ears, arms and feet, rosy cheeks and a little bamboo leaf, finished as a keychain.
View pattern →